My brother has a major decade milestone this year and I wanted to make him something special – something that would be useful, would not go out of style, and was within my skill set. I thought and thought. A scarf? Too common and really we have been there and done that. Redo of the piano scarf? No – see previous. Kitchen towels? Wash clothes? Bath towels? Nothing seemed right. And then it hit me. He loves to bake, especially bread. I could make him an apron! It would fit because they all fit. It could be made from the ground up by me. And I could make it out of a material he would enjoy and that would wear well – cottolin.
The Planning Process
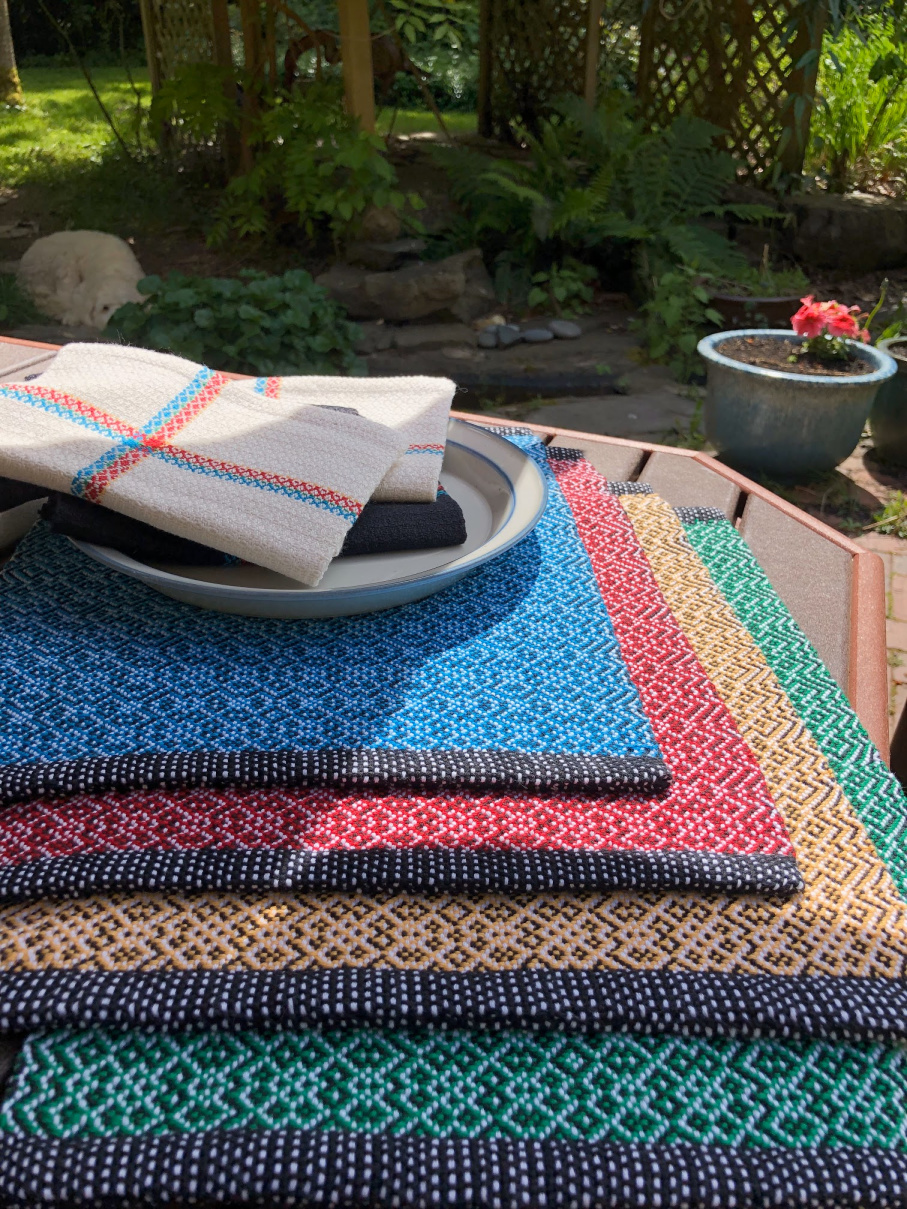
 From the start, the colors were set. He loves Italy – red, green, and white (natural, actually) it was. I used commercial aprons to determine the measurements (approximately 30″ wide and about as tall). Perfect for my Macomber using its maximum weaving width! I found an inspiration from the Boston Weaving Guild’s Interlacements (8 Shaft Point Twill Variation). The choice was based on how it would wear (no lace or unbalanced weaves), accommodate colors, and look good on a man. This draft fit all these requirements and looked perfect for a kitchen. A little quick math (32″ wide, 24 epi, 2 yards for good measure plus 1 for loom waste) and I could wind the warp. I borrowed an inkle loom to make my own strapping for the ties.
Warping and Weaving
I selected a straightforward draft with very regular color changes. However, those changes occurred every 7 ends, which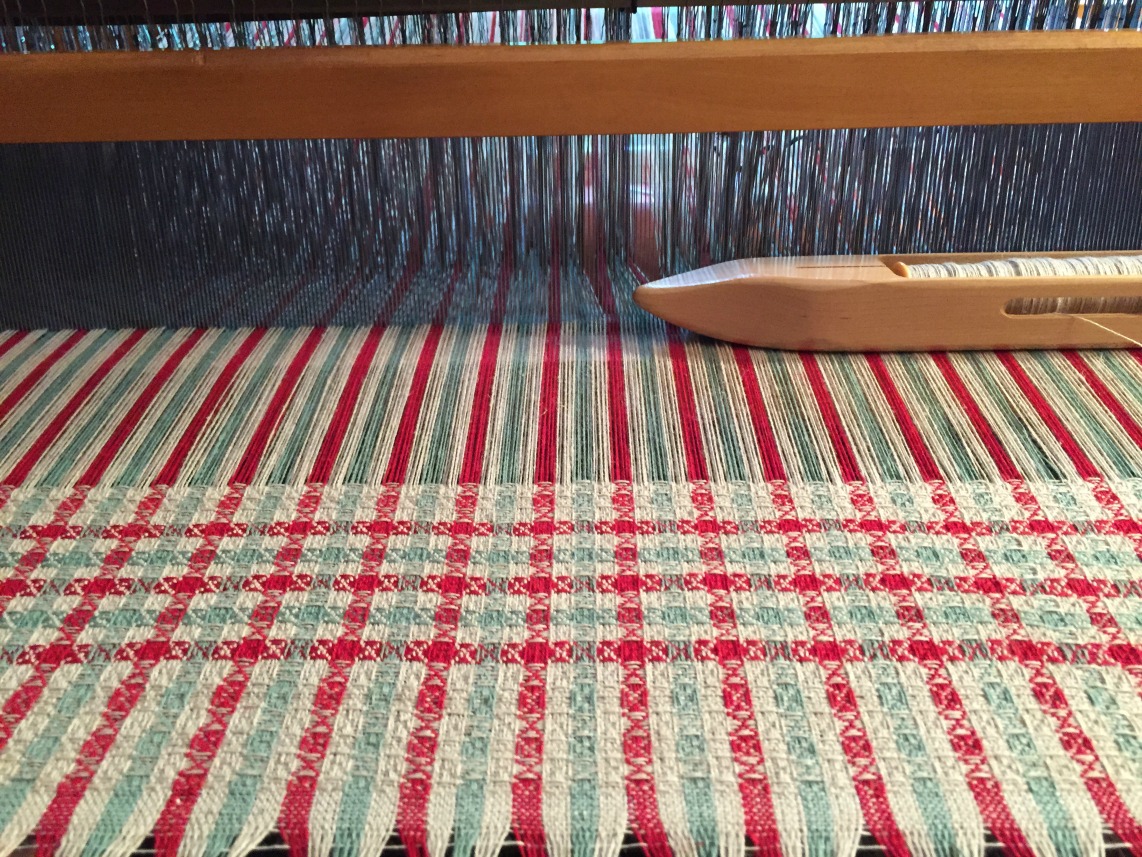 meant a super irritating warping process (tying on every color change) or warping front to bac
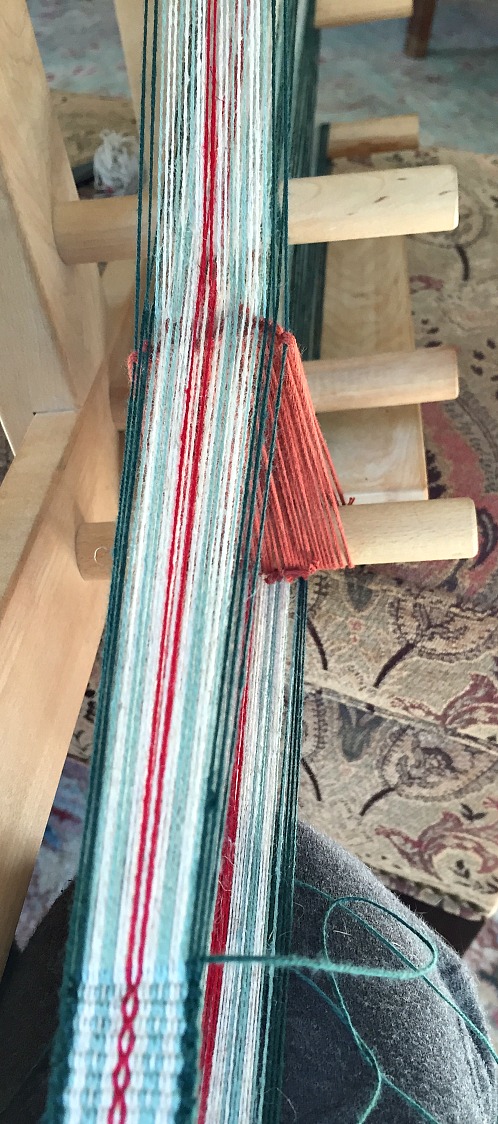 k. I chose the latter and wound the warps by color.
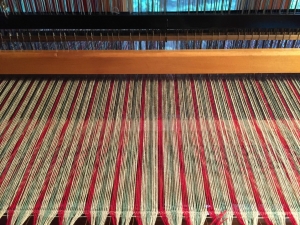
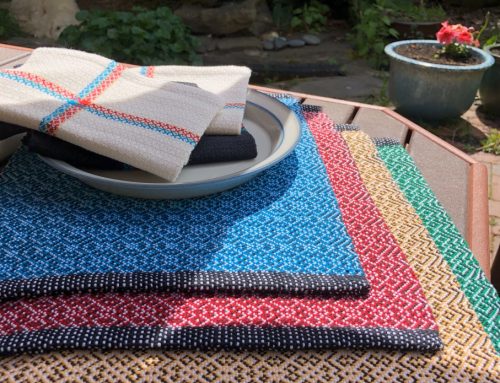
Difficult to warp paid off as easy to sley and thread with all the white on shaft 1-4 and all the colors on shaft 5-8. Weaving was also treadling as writ with color changes the same. I decided to have some stripes but leave a large portion just using white weft. As I wove I played with striping patterns to add interest to the cloth.
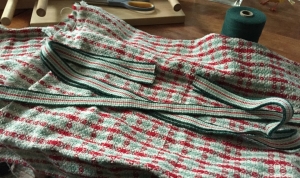
I also warped the inkle loom with a simple pattern using the same Cottolin colors plus a dark green for selvedges. It went quickly and the strapping looked great with the material.
 Preparation and Sewing
Before sewing, I washed and pressed the fabric. I think the hardest part of the process was cutting my 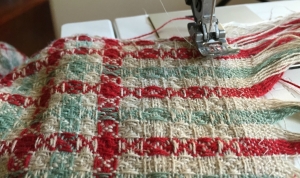 material. But the only way to do it was to take the scissors and cut. I chose about a 5/8″ hem all over. I zig-zagged the hem then top-stitched with a straight stitch. I measured a good length for the neck strap, then cut the remaining strapping in half for the apron ties. My sewing machine struggled a bit with the layers, but I finished up with some hand stitching to make sure the ties were secure.
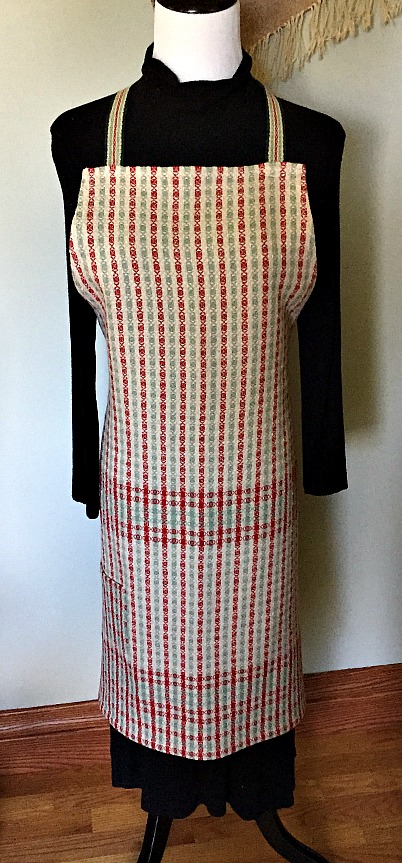
Finishing
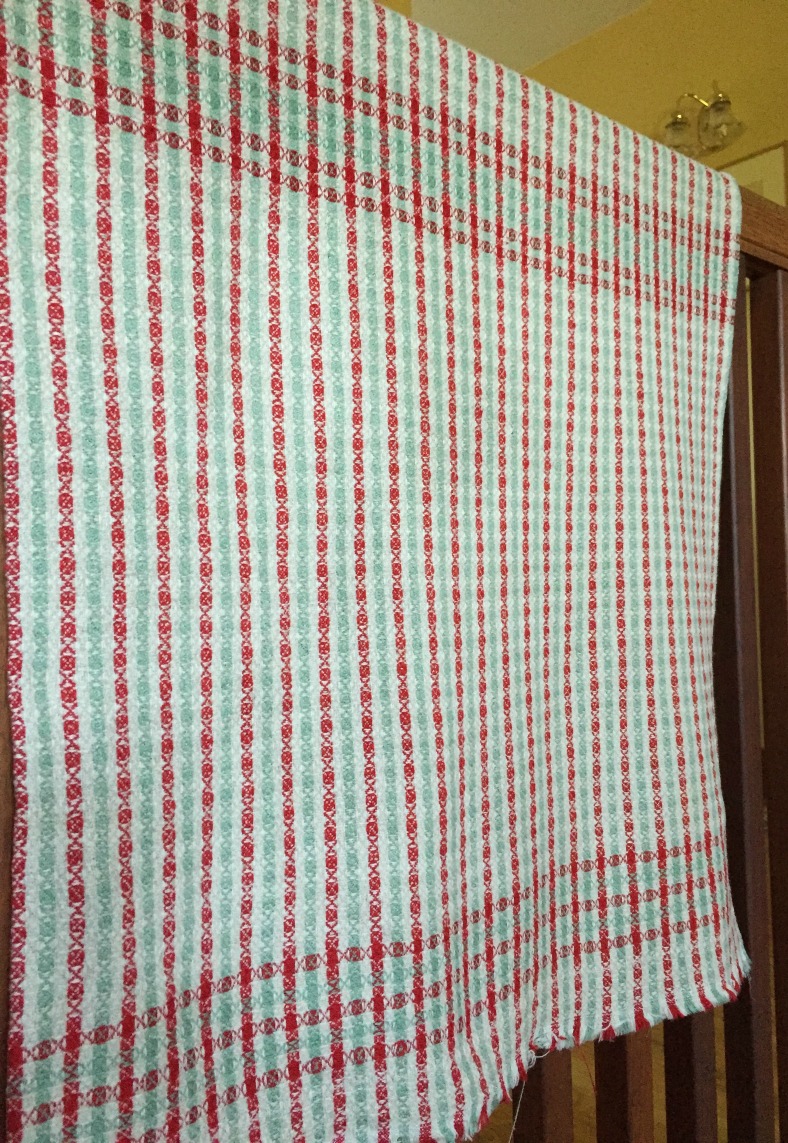
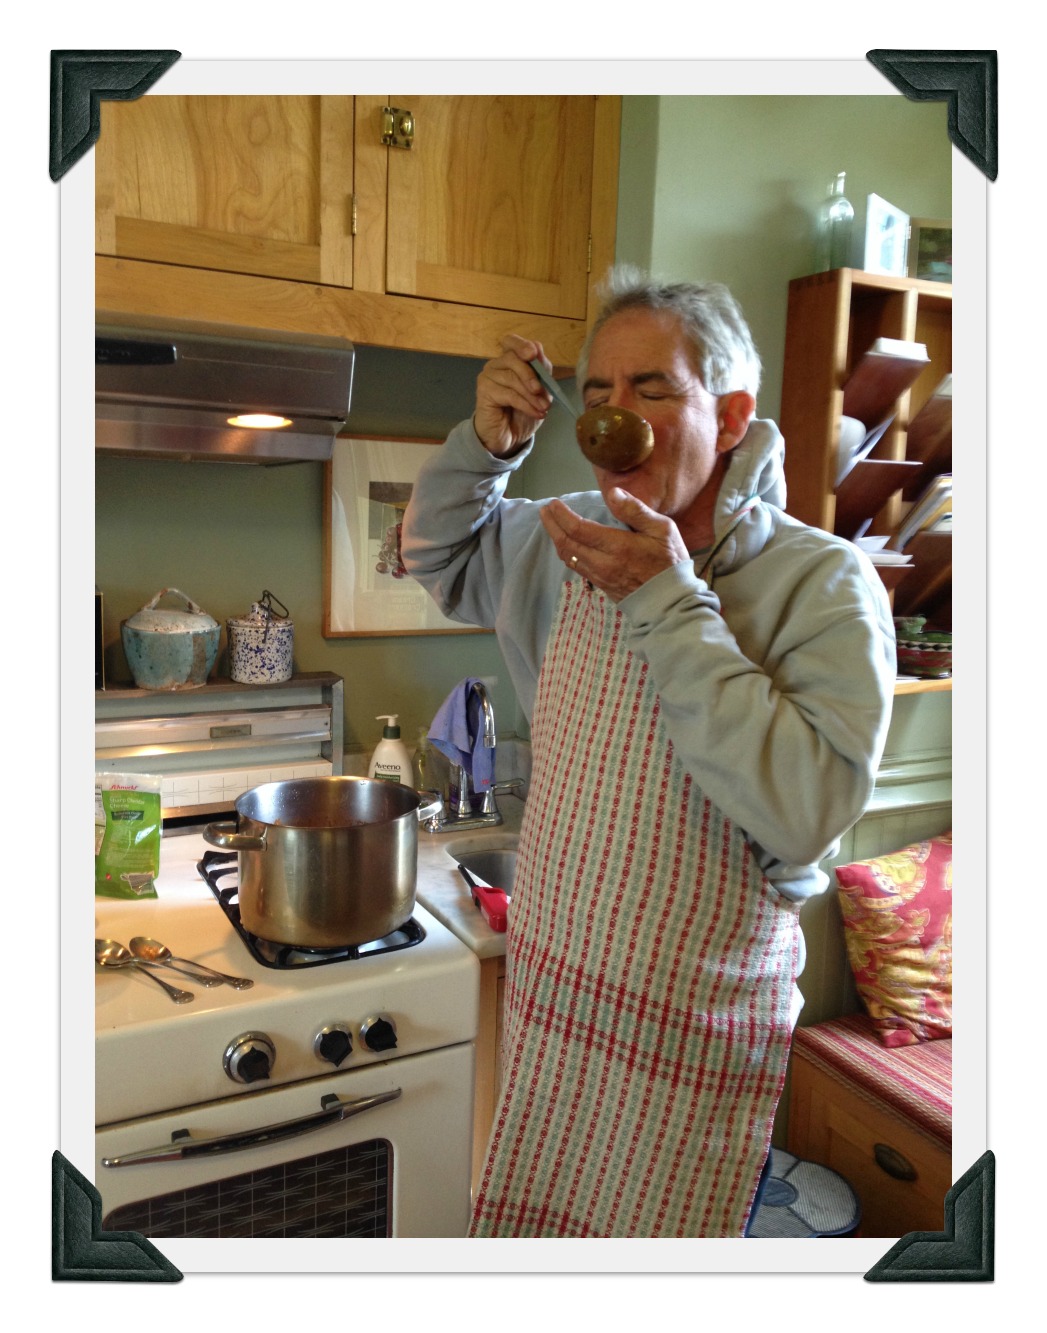
After I completed all the sewing, I put the apron on my mannequin Millie. It looked fine on her, but it really needed to be seen on its intended recipient. Check it out! It has been fun to weave common cloth to create a special present. All done and even a bit ahead of schedule!


[…] Previous […]